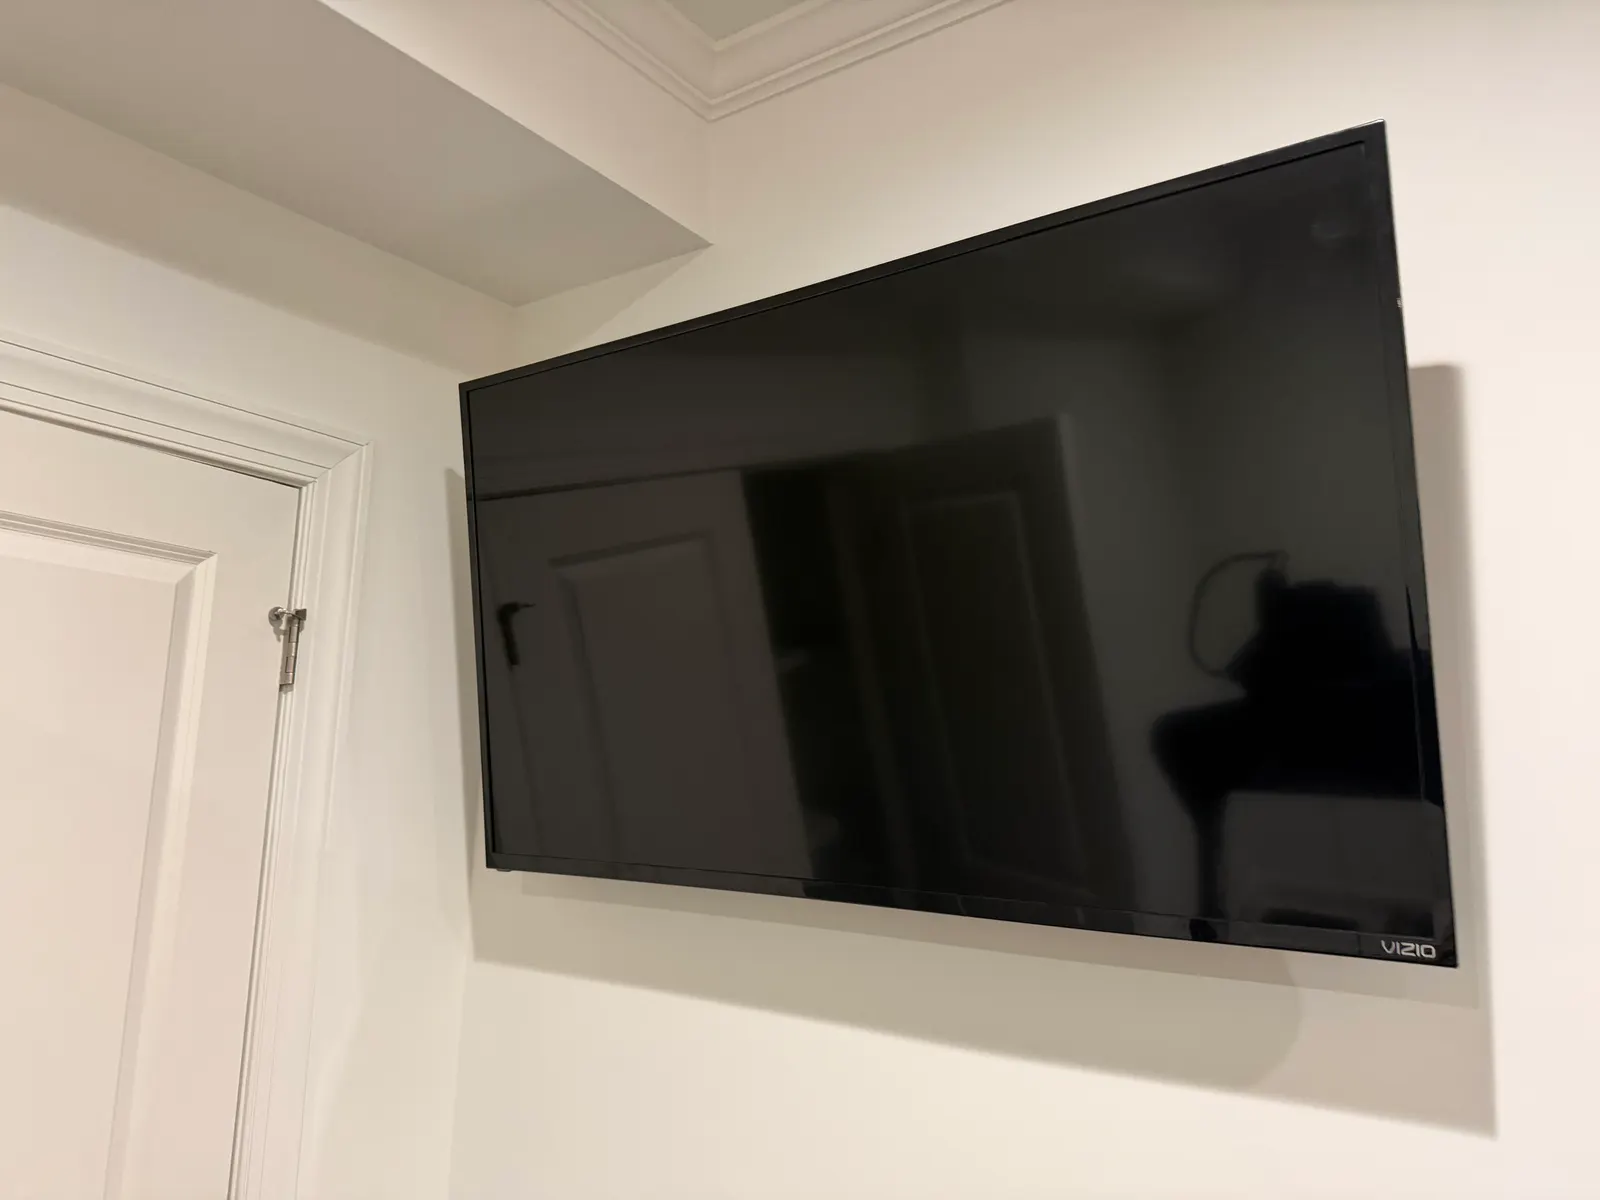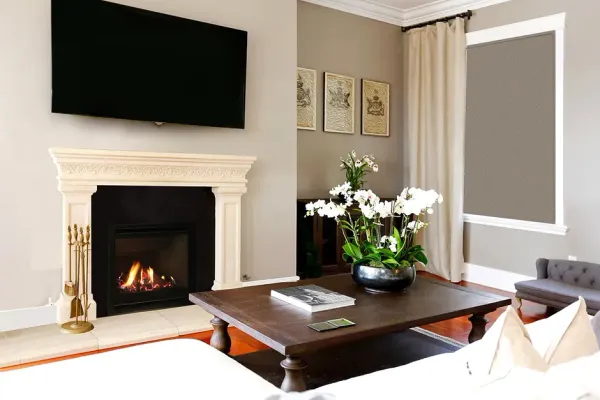
Solid brick holds a TV: drive 3/16 x 2-3/4 inch Tapcon screws into the brick face or the mortar joint, whichever lines up with the mount holes. Brick veneer and stone veneer can’t carry the load on their own, so the anchors have to go through the veneer into the studs or block behind it.
Quick note: This page contains Amazon affiliate links. We may earn a small commission at no extra cost to you if you buy through them.
A brick fireplace or a stone accent wall looks like the natural spot for a TV. Before you grab a drill, answer one question: is it solid masonry or a decorative veneer?
That answer decides whether the install holds for as long as you own the house or ends in cracked stone and a failed mount. A thin veneer that gets treated like solid masonry is the classic way these installs go wrong: the anchor holds for a while, then pulls out with a piece of the veneer.
Below: how to tell what you have, how to drill each material safely, and when not to drill at all.
Solid Masonry vs. Veneer: Understanding the Difference
Solid Brick
What it is: Full-dimension clay or concrete bricks (typically 3.5” thick) stacked and mortared to create structural walls.
Where you’ll find it:
- Older homes, roughly pre-1960
- Load-bearing exterior walls
- Some interior fireplace chimneys
- Historic buildings and renovations
Characteristics:
- Each brick is 3.5” or more thick
- Bricks are structural (supporting weight)
- Can directly support heavy loads
- Drill depth can exceed 2-3 inches safely
Brick Veneer
What it is: A single layer of brick (3.5” or thinner) attached to a backing structure, usually wood framing or concrete block.
Where you’ll find it:
- Most homes built after 1960
- Decorative exterior cladding
- Interior accent walls
- Fireplace surrounds
Characteristics:
- Single brick thickness (3.5” or less)
- Brick provides appearance, not structure
- Backing material varies (wood frame, metal studs, concrete)
- Heavy loads must anchor to backing, not brick alone
Thin Brick Veneer (Brick Tile)
What it is: Ultra-thin brick slices (½” to 1”) adhered to wall surfaces like tile.
Where you’ll find it:
- Modern accent walls
- Kitchen backsplashes with “brick” appearance
- Fireplace refacing
- Commercial interiors
Characteristics:
- Less than 1” thick
- Cannot support any mounting loads
- Purely decorative
- Must drill through to backing material
Natural Stone Veneer
What it is: Real stone cut thin (1” to 2”) and applied to wall surfaces.
Where you’ll find it:
- Fireplace surrounds
- Accent walls
- Exterior cladding
- High-end interior finishes
Characteristics:
- Beautiful but fragile when thin
- Cracking risk during drilling
- Must anchor to backing structure
- Stone provides appearance, not strength
Manufactured Stone Veneer
What it is: Concrete-based material molded and colored to look like natural stone.
Where you’ll find it:
- Fireplace surrounds
- Interior accent walls
- Exterior cladding
- Budget-friendly stone appearance
Characteristics:
- Typically 1.5” to 2” thick
- Lighter weight than real stone
- Cannot support heavy loads alone
- Must anchor through to backing
How to Identify What You Have
Method 1: Wall Thickness Assessment
For fireplaces and accent walls:
- Find an edge or corner where material meets another surface
- Measure the visible thickness of brick/stone
- Look at any exposed edges or gaps
What you’re looking for:
- Full brick (3.5”+) suggests solid masonry
- Single brick thickness (3.5”) suggests veneer on backing
- Thin material (½” to 2”) is definitely veneer
Method 2: The “Knock Test”
Tap on various areas of the wall and listen:
Solid masonry: Dull, dead thud with no hollow resonance
Veneer on wood frame: Slightly hollow sound, possible vibration
Veneer on concrete: Solid sound but may feel different than deep masonry
This test is not definitive but provides clues.
Method 3: Check Visible Construction Details
Look for:
- Metal ties or straps (indicate veneer system)
- Weep holes at wall base (veneer)
- Building age (newer homes almost always use veneer)
- Consistency of brick/stone depth
Method 4: Test Drill (Carefully)
Last resort verification:
- Choose an inconspicuous spot
- Drill a small pilot hole (3/16”)
- Note depth before breaking through to different material
- Less than 3.5” to air/cavity = veneer
Caution: This creates a hole you’ll need to address.
Safe Drilling Techniques by Material Type
Drilling into Solid Brick
Required tools:
- A hammer drill, or an SDS-plus rotary hammer such as the Bosch GBH2-28L (not a regular drill)
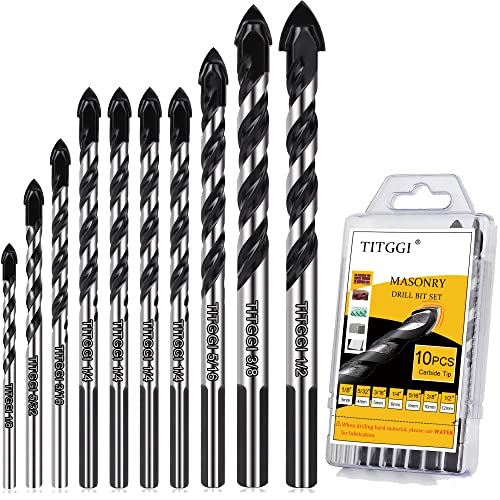
- A carbide-tipped masonry bit set
- Safety glasses
- Dust mask
Technique:
- Mark your drill points where the mount holes fall: on the brick face or in a mortar joint, whichever lines up. Don’t shift the bracket to chase one or the other
- Start at slow speed without hammer function to establish hole
- Engage hammer function and increase speed
- Apply steady pressure and let the drill do the work
- Periodically withdraw to clear dust
- Continue to desired depth (typically 2-2.5” for anchors)
Anchor options:
- Tapcon masonry screws, 3/16 x 2-3/4 inch for most TVs under 75 inches, 1/4 x 3-1/4 inch from 75 inches up
- Sleeve anchors
- Wedge anchors
- Lead shields with lag bolts
What can go wrong:
- Drilling at angle (use guide if needed)
- Overheating bit (take breaks)
- Hitting air pockets in old brick
- Cracking brittle or weathered brick
Drilling into Brick Veneer
Key difference: You’re drilling through brick and into the backing material.
Assessment first:
- What’s behind the brick? (Wood frame, metal studs, concrete block?)
- Is the brick in good condition or deteriorating?
- Can you reach backing material with anchors?
Technique:
- Drill through brick using masonry bit
- When you break through, note what’s behind
- If wood: Continue with appropriate wood bit, use lag bolts
- If metal studs: Use toggle bolts through the steel (see our metal stud TV mounting guide for sizes and counts)
- If concrete: Continue with masonry bit and use concrete anchors (full walkthrough in how to mount a TV on concrete)
Critical consideration: If brick is thin or cracked, the act of drilling may:
- Crack or shatter the brick
- Dislodge the brick from its adhesive
- Create visible damage
When to stop:
- If brick shows any cracking during drilling
- If brick feels loose or hollow
- If you can’t reach solid backing
Drilling into Stone Veneer (Natural or Manufactured)
High risk material: Stone veneer cracks easily during drilling.
Before drilling:
- Assess stone thickness and condition
- Determine backing material
- Consider whether drilling is the best approach
If proceeding:
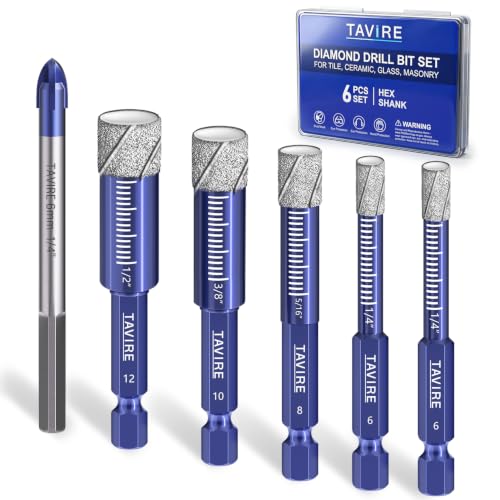
- Use diamond drill bits for natural stone, carbide for manufactured
- Start without hammer function
- Keep speed moderate to reduce heat
- Apply very light pressure
- Drill slowly and patiently
- Stop immediately if cracking begins
Alternative approaches:
- Mount to backing structure only (drill between stones)
- Use surface-mounted systems that avoid drilling
- Consider mortar joint routing instead of stone drilling
When NOT to Drill
Absolutely Do Not Drill When:
Material is too thin:
- Thin brick veneer (under 1”)
- Cultured stone under 1.5”
- Any material that can’t accommodate anchor depth
Material is damaged or deteriorating:
- Cracked or spalling brick
- Stones with visible fracture lines
- Mortar that’s crumbling
- Material showing efflorescence (white mineral deposits)
You can’t identify the backing:
- Unknown construction behind veneer
- Potential for hitting utilities
- Air gaps with no solid backing
The risk isn’t worth it:
- Irreplaceable historic materials
- Extremely expensive stone
- Material that can’t be matched if damaged
Red Flags During Drilling
Stop immediately if:
- Material starts cracking around the hole
- Drill suddenly breaks through to open space
- Material feels like it’s moving or flexing
- Unexpected dust color (may indicate hitting something else)
- Drilling feels “crunchy” rather than solid
Alternative Mounting Methods for Veneer
When drilling into veneer is too risky:
Mortar Joint Mounting
Concept: Where a mount hole falls on a mortar joint, drill the joint rather than moving the bracket
Advantages:
- Mortar is replaceable, and a hole can be repointed and color-matched later
- Less risk of cracking a visible brick or stone face
Watch for:
- Soft or crumbling mortar, which won’t hold an anchor at all; repoint it first or use the face
- Mortar is usually softer than the brick, so use every hole the bracket has
- Where a hole doesn’t land on a joint, drill the face there instead
Through-Backing Mounting
Concept: Use long anchors that pass through veneer and grip backing structure
Advantages:
- Load supported by backing, not veneer
- Works regardless of veneer type
- Most secure for heavy TVs
Technique:
- Carefully drill through veneer
- Continue into backing (wood, concrete, etc.)
- Use appropriate anchors for backing material
- Veneer acts as spacer only
Mounting Between Materials
Concept: Route bracket mounting to areas without veneer
Example: For fireplace surrounds, mount to drywall/studs adjacent to stone, with TV positioned over stone area
Advantages:
- No risk to decorative material
- Standard mounting techniques
- Easier cable concealment
Bracket Adapter Systems
Concept: Use adapter plates that distribute load across multiple points
Advantages:
- Spreads stress over larger area
- Reduces risk of point-source cracking
- Can bridge from solid points to veneer areas
Professional Assessment: When It’s Worth It
Consider professional evaluation before drilling when:
High-Value Materials
- Antique or reclaimed brick
- Rare or expensive stone
- Materials that can’t be replaced
- Historic preservation concerns
Uncertain Construction
- Can’t determine veneer vs. solid
- Unknown backing material
- Multiple layers of construction
- Recent renovations with unclear methods
Large/Heavy TVs
- TVs over 65”
- Weight exceeds 80 lbs
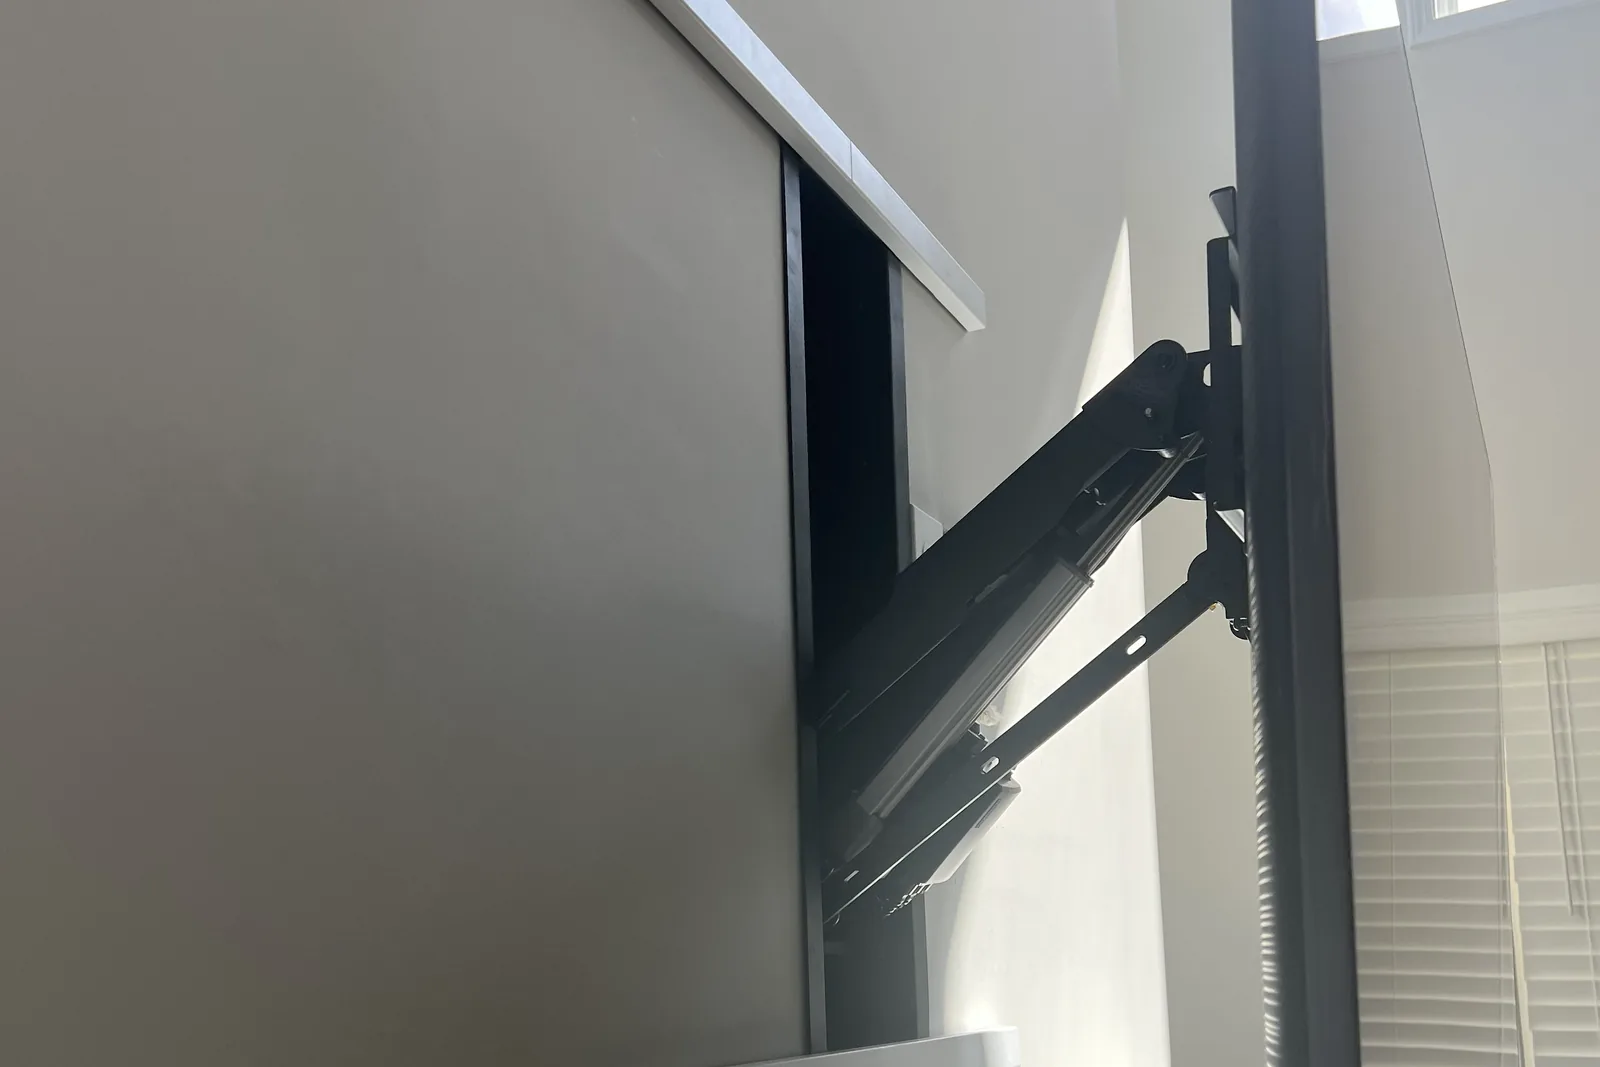
- Full-motion mounts, which multiply the prying force on the anchors
- Valuable TVs you can’t afford to damage
Complex Situations
- Fireplace surrounds with heat exposure (see our dedicated mounting TV over fireplace guide)
- Multiple mounting points on mixed materials, especially uneven stone surfaces in Atlanta homes
- Limited anchor point options
- Previous failed mounting attempts
- Oversized displays: if you’re working with an 85”+ panel, follow our heavy-duty TV mounting guide for 85-inch-plus TVs before drilling anything
Common Mistakes to Avoid
Mistake 1: Assuming All Brick is Solid
Reality: Most homes built after 1960 use brick veneer. Don’t assume structural capacity.
Mistake 2: Moving the Bracket to Chase Brick or Mortar
Reality: Drill the brick face or the mortar joint, whichever lines up with the mount holes. Shifting the TV off its best position so every hole lands on a brick, or every hole in a joint, buys you nothing.
Mistake 3: Using Standard Drywall Anchors
Reality: Drywall anchors provide zero support in brick or stone. Use proper masonry anchors.
Mistake 4: Over-Tightening Anchors
Reality: Excessive torque cracks brick and stone. Tighten until snug, then stop.
Mistake 5: Drilling Without Knowing What’s Behind
Reality: Hitting utilities, air gaps, or unexpected materials creates dangerous situations.
Summary: Decision Framework
| Material | Drill Directly? | Best Approach | Risk Level |
|---|---|---|---|
| Solid brick (3.5”+) | Yes | Tapcons or sleeve anchors in the face or mortar joint, whichever lines up with the mount holes | Low |
| Brick veneer on wood | Maybe | Through-bolt to studs | Medium |
| Brick veneer on steel | Careful | Toggles through to studs | Medium |
| Thin brick (<1”) | No | Mount to backing only | High |
| Natural stone veneer | Careful | Through-bolt to backing | High |
| Manufactured stone | Careful | Through-bolt to backing | Medium |
| Damaged/old material | No | Professional assessment | High |
Frequently asked questions
Can you drill directly into solid brick to mount a TV?
Yes. Solid brick 3.5 inches or thicker is structural and takes standard masonry anchors (Tapcons, sleeve anchors, wedge anchors) driven with a hammer drill. Drill the brick face or the mortar joint, whichever lines up with the mount holes, and go 2 to 2.5 inches deep for most anchors.
Can you drill into brick veneer on a wood-framed wall?
Only to reach the studs behind it. The brick itself can’t hold a TV. Drill through the brick with a masonry bit, switch to a wood bit for the stud, and fasten with lag bolts. Cracked or thin veneer can fail while you drill, so check its condition first.
How do you mount a TV on brick veneer with steel studs behind it?
Drill carefully through the veneer, then use toggle bolts through the steel studs; wood lag bolts won’t grip steel. Our metal stud guide covers the sizes and counts.
Can you drill into thin brick veneer (under 1 inch)?
No. Thin brick under an inch thick is decorative and can’t hold any mounting load. Mount entirely to the backing (wood studs, concrete block or steel studs) and treat the brick as a spacer.
Is it safe to drill into natural stone veneer?
Only with care. Natural stone veneer, 1 to 2 inches thick, cracks easily. Use a diamond bit at moderate speed without hammer mode and anchor through to the backing. Drilling a mortar joint where it lines up, or moving the bracket to the drywall beside the stone, are the lower-risk options.
Can you drill into manufactured stone veneer to hang a TV?
You can drill it carefully, but it can’t hold the load. Manufactured stone is typically 1.5 to 2 inches of lightweight concrete stuck to a backer, so the anchors have to reach the studs behind it.
Should you drill into damaged or crumbling masonry?
No. Cracked or spalling brick, fractured stone, crumbling mortar and material showing efflorescence (white mineral deposits) need a professional look before anyone drills.
How much does it cost to have a TV mounted on brick or stone?
The size-tier labor plus $99 for brick, stone or concrete: $129 (up to 54”), $159 (55-69”), $209 (70-79”), $299 (80-99”), $399 (100”+). A brick or stone veneer on the outside of the house doesn’t count when the TV goes on the inside wall, because the bracket lands on the wood studs behind the drywall.
Need Help with Brick or Stone Mounting?
Brick and stone are among the hardest walls to get right, and among the most satisfying when they’re done well. We bring:
- A proper check of what the wall actually is before anything is drilled
- Hammer drills, carbide and diamond bits, and the right anchor for each material
- A 3-year workmanship warranty on every install
Schedule a masonry assessment: our fireplace and masonry installs run flat-rate from $129, plus $99 for masonry in every metro we serve. Or call (470) 777-4077.
About the author: This guide was written by Alex Crabinsky, founder of Express Mounting, which has completed 9,747+ TV installs since 2015.