Projector Mounting Solutions - Professional Home Theater Installation
Projectors create the ultimate home theater experience - there's nothing quite like a 100+ inch image in your own media room. But projector installation is completely different from TV mounting. You're dealing with throw distance calculations, ceiling structure assessment, cable runs that often span entire rooms, and alignment that needs to be precise or your image looks terrible. We've installed projectors in dedicated theaters, living rooms, basements, and even outdoor spaces. The key to success is proper planning: screen placement first, then projector position calculated from throw ratio, then mounting solution that allows fine adjustment. Get it right and you'll have cinema-quality viewing. Get it wrong and you're staring at a trapezoid-shaped image wondering where you went wrong.
Which Ceiling Mount Fits Your Projector?
Ceiling mounting is the gold standard for projector installation - it gets the projector out of the way, provides clean sightlines, and allows optimal throw angles. Quality ceiling mounts feature adjustable drop lengths, tilt/rotation adjustment for perfect alignment, and cable management channels. Universal mounts work with most projectors, but verify weight capacity and mounting pattern compatibility before purchasing. Some high-end projectors require brand-specific mounts. The key specification is adjustability - you need enough range to dial in perfect image alignment after installation.
| Picture | Product | Shop |
|---|---|---|
![]() |
Epson Universal Projector Mount | |
![]() |
Chief RPA Series | |
![]() |
Peerless Universal Mount | |
![]() |
Universal Adjustable Mount |
💡 Installation Requirements: Locate ceiling joists with stud finder • Use appropriate anchors for ceiling type • Plan cable routing before mounting • Allow adjustment range for alignment fine-tuning
Browse All: Ceiling Projector Mounts on Amazon
Projector Screens - Fixed Frame & Motorized
The screen matters as much as the projector - a quality screen maximizes image quality while a poor one wastes your projector's potential. Fixed frame screens provide the flattest, most consistent surface for dedicated theater rooms. Motorized screens retract when not in use, perfect for multi-purpose rooms. Screen material affects gain (brightness), viewing angle, and ambient light rejection. For dark, dedicated theaters, standard white screens work great. For rooms with some ambient light, consider gray screens or ALR (ambient light rejecting) materials. Screen size should be calculated based on viewing distance - the THX recommendation is a 36-degree field of view from primary seating.
| Picture | Product | Shop |
|---|---|---|
![]() |
Silver Ticket Fixed Frame | |
![]() |
Elite Screens Motorized | |
![]() |
Elite Screens ALR (Ambient Light Rejecting) | |
![]() |
Manual Pull-Down Screen |
💡 Screen Selection Guide: Dark room = white 1.0-1.3 gain screen | Some ambient light = gray screen or ALR | Primary viewing distance ÷ 1.5 = recommended screen diagonal
Browse All: Projector Screens on Amazon
Short Throw & Ultra Short Throw Projectors
Short throw projectors sit much closer to the screen - great for smaller rooms or situations where ceiling mounting isn't practical. Ultra-short throw (UST) projectors sit just inches from the screen, often on a TV stand or shelf right below the viewing surface. These eliminate shadows from people walking in front of the projector and simplify installation significantly. The tradeoff is typically higher cost and more sensitivity to screen surface imperfections. UST projectors pair best with specialized ALR screens designed for their steep projection angle.
| Picture | Product | Shop |
|---|---|---|
![]() |
Epson Short Throw Projector | |
![]() |
VAVA 4K Ultra Short Throw | |
![]() |
Hisense Laser TV | |
![]() |
LG CineBeam UST |
💡 UST Considerations: Requires specialized ALR screen for best results • Floor/surface must be level • No ceiling installation needed • Higher sensitivity to screen wrinkles and imperfections
Browse All: Short Throw Projectors on Amazon
Projector Cable Management & Accessories
Projector installations typically involve longer cable runs than TV setups - often 15-50+ feet from projector to source equipment. HDMI signal degrades over distance, so cable quality matters more. For runs over 25 feet, consider active HDMI cables or fiber optic HDMI that can reliably transmit 4K signals 50-100+ feet. In-ceiling cable routing keeps everything invisible but requires planning during construction or renovation. Wireless HDMI transmitters offer flexibility but add latency - fine for movies, potentially problematic for gaming.
| Picture | Product | Shop |
|---|---|---|
![]() |
Fiber Optic HDMI Cable | |
![]() |
HDMI over Ethernet Extender | |
![]() |
Wireless HDMI Transmitter | |
![]() |
Ceiling Cable Channel |
💡 Cable Run Guidelines: Under 15ft = standard HDMI • 15-25ft = premium high-speed HDMI • 25-50ft = active or fiber optic HDMI • 50ft+ = fiber optic HDMI or HDMI over Ethernet
Browse All: Projector Cables & Accessories on Amazon
Projector Throw Distance Calculator Guide
Getting the projector-to-screen distance right is critical for proper image size and focus. Every projector has a throw ratio that determines how far away it needs to be for a given screen size. Standard throw projectors typically have ratios between 1.4:1 and 2.8:1. Short throw is around 0.4:1 to 1.0:1. Ultra-short throw is under 0.4:1. Here's how to calculate: multiply your desired screen width by the throw ratio to get required distance.
Throw Distance Formula: Screen Width × Throw Ratio = Required Distance
Common Throw Ratio Examples:
| Screen Size | Standard (1.5:1) | Short (0.5:1) | UST (0.25:1) |
|---|---|---|---|
| 100" (87" wide) | 10.9 feet | 3.6 feet | 1.8 feet |
| 120" (104" wide) | 13 feet | 4.3 feet | 2.2 feet |
| 150" (131" wide) | 16.4 feet | 5.5 feet | 2.7 feet |
💡 Planning Steps:
- Decide on screen size based on room and viewing distance
- Find your projector's throw ratio in specifications
- Calculate required projector distance
- Verify ceiling height allows proper mounting at calculated distance
- Consider lens shift capabilities for positioning flexibility
Online Calculators: Projector Central Calculator
Room Considerations for Projector Installation
The room itself affects projector performance more than most people realize. Light control is paramount - even a great projector looks washed out in a bright room. Dedicated theater rooms with blackout curtains deliver the best experience. Multi-purpose rooms benefit from ambient light rejecting screens and higher-lumen projectors. Wall color matters too - white walls bounce light and reduce contrast, while dark walls improve perceived image quality. Sound treatment prevents audio reflections that muddy home theater audio.
Room Optimization Checklist:
- ✅ Light control: Blackout curtains or shades for windows
- ✅ Wall color: Dark or neutral colors reduce light reflection
- ✅ Ceiling height: Sufficient clearance for projector and throw angle
- ✅ Seating distance: 1.5-2x screen diagonal for optimal viewing
- ✅ Electrical: Dedicated circuit for projector recommended
- ✅ Ventilation: Projectors generate heat - ensure adequate airflow
- ✅ Acoustic treatment: Absorption panels improve audio quality
Light Control Solutions: Blackout Curtains on Amazon
Frequently Asked Questions - Projector Installation
How do I calculate the right projector distance?
Every projector has a throw ratio that determines distance-to-screen-size relationship. Find your projector's throw ratio in its specifications (usually something like 1.4-2.8:1 for standard throw). Multiply your desired screen width by the throw ratio to get required distance. For example, a 100-inch diagonal 16:9 screen is about 87 inches wide. With a 1.5:1 throw ratio projector, you'd need 87 × 1.5 = 130 inches (about 11 feet) from projector to screen. Many projectors have zoom ranges that provide flexibility - a 1.4-2.8:1 zoom lens lets you position that same 100-inch image anywhere from 10 to 20 feet away. Online calculators like Projector Central's are extremely helpful for planning. Short throw (0.5:1) and ultra-short throw (0.25:1) projectors need much less distance - great for small rooms but typically cost more.
Should I ceiling mount or use a table/shelf?
Ceiling mounting is generally preferred for permanent installations. Benefits include: getting the projector out of the way, clean sightlines without obstruction, optimal projection angles, and no risk of the projector being bumped or moved. Table or shelf mounting works for temporary setups, rentals where you can't modify the ceiling, or ultra-short throw projectors designed to sit below the screen. If ceiling mounting, locate joists for secure attachment - projectors aren't heavy (usually 10-25 lbs) but need stable mounting to prevent image shake. The projector should be centered on the screen and at the proper height for your screen's vertical position. Most projectors can be ceiling-mounted and have image flip settings to correct the orientation.
What ceiling height do I need for a projector?
Minimum ceiling height depends on your screen size, projector throw angle, and where you want the screen positioned. Most projectors have 10-15 degrees of downward throw angle. For a typical setup with screen top at 8 feet and projector mounted at ceiling: 9-foot ceilings work fine for most standard throw installations. 8-foot ceilings can work but may require careful planning and possibly a short throw projector. Higher ceilings (10ft+) provide more flexibility. Many projectors include lens shift (vertical and sometimes horizontal) that allows positioning flexibility without keystoning. High-end projectors may have 60%+ lens shift, letting you position the projector well above or below screen center while maintaining proper geometry. Calculate your specific requirements using projector specifications and online calculators.
Do I need a special screen or can I project on a wall?
You can project on a white wall, but a proper screen significantly improves image quality. Walls have texture that affects sharpness, may not be perfectly flat (causing focus issues), and typically have lower reflectivity than screen material. A basic matte white screen provides consistent brightness and uniform reflection. For dedicated theater rooms with full light control, this is often sufficient. For rooms with ambient light, gray screens or ambient light rejecting (ALR) materials dramatically improve contrast and viewability. ALR screens can cost significantly more but make the difference between a usable and unusable image in bright rooms. If projecting on a wall, use flat, matte white paint (specialty screen paint exists) and ensure the surface is smooth and defect-free. But honestly, a $200 screen outperforms any wall.
How many lumens do I need for my projector?
Lumen requirements depend heavily on screen size and ambient light. For dark, dedicated theater rooms: 1,500-2,000 lumens is typically sufficient for 100-120 inch screens. For rooms with some ambient light: 2,500-3,500 lumens helps maintain watchable images when lights are dimmed but not completely off. For bright rooms or large screens: 4,000+ lumens needed, though even this struggles against direct sunlight. Bigger screens need more lumens proportionally - a 150-inch screen needs roughly twice the lumens of a 100-inch screen for equivalent brightness. Laser projectors maintain brightness better over time than lamp-based projectors, which dim as bulbs age. Consider that manufacturer lumen ratings are maximums - actual output in accurate color modes is often 60-70% of rated lumens. When in doubt, err toward more lumens rather than fewer.
How much does professional projector installation cost?
Professional projector installation typically runs $200-500 for basic ceiling mount installations, with complexity adding cost. Basic ceiling mount on accessible drywall ceiling: $200-300 including mount, basic cable run, and alignment. Installations requiring attic access or long cable runs: $300-450. Complex installations with in-ceiling cable routing, electrical work, or screen installation: $400-700+. Screen installation varies: manual pull-down $100-150, motorized $200-350, fixed frame $150-250. Total home theater setup (projector mount, screen, cable management, basic calibration) typically runs $500-1,000 for professional installation. DIY is feasible if you're comfortable with ceiling work and have attic access for cable routing. The projector alignment and calibration portion is fairly straightforward with modern auto-keystone features.
Do you install projectors and screens together?
Yes - projector and screen are sold as one job because the alignment is interdependent. We mount the screen first (fixed frame or motorized depending on the customer's preference), measure the actual screen center after install, then calculate exact projector position based on the projector's throw ratio and lens shift range. We did a Sandy Springs basement home theater install last quarter with an Epson 5050UB ceiling-mounted at a 13-foot throw distance to a 120-inch Silver Ticket fixed-frame screen - the projector's 1.35-2.84:1 zoom range gave us flexibility, but we still had to ceiling-mount the projector exactly 13 feet 2 inches from the screen wall to land in the middle of the zoom range and avoid keystone correction. Total install was 5 hours including ceiling joist location, mount install, in-ceiling HDMI run from the equipment rack, screen frame assembly, and final alignment with grid pattern. Call (470) 777-4077 for Buckhead, Milton, Sandy Springs basement projector installs.
Can you handle in-ceiling cable routing?
Yes - in-ceiling HDMI plus power routing is one of the most-requested parts of a Buckhead or Milton basement projector install because customers want zero visible cables. We use Klein Tools fish tape and glow rods to route fiber optic HDMI (Monoprice SlimRun AV Pro for 50+ foot runs) plus a PowerBridge ONE-CK in-ceiling power kit through the ceiling joist bay from the equipment rack location to the projector. For finished basements with drywall ceilings we cut access holes at both ends, fish the cable, then patch and texture-match the drywall. For unfinished basements with exposed joists we run the cable along the joist with cable staples and tuck it into J-channel for clean appearance. Most in-ceiling runs take 2-3 hours of the total install. Brick or block walls add the standard 119 dollar masonry surcharge if the cable has to enter or exit through masonry.
What's the typical projector install time?
Standard ceiling-mount projector install with no cable routing is 2-3 hours: ceiling joist location, mount drop bar install, projector attachment, basic HDMI cable run on the surface, and alignment. Add a screen install (fixed frame or motorized) and total goes to 4-5 hours. Add in-ceiling HDMI plus power routing and total goes to 5-7 hours. Full Buckhead basement home theater builds with projector plus screen plus in-ceiling cabling plus a 5.1 surround sound install can run 8-10 hours which we typically schedule as a two-day appointment. We send 2 installers on projector jobs because lifting a 25-pound projector to a ceiling mount while threading the throw alignment is a two-person job. Call (470) 777-4077 for Metro Atlanta projector install scheduling and we will give you a same-day quote based on your room dimensions and equipment list.
Does a projector mount need to hit a ceiling joist?
Yes, or solid blocking - never drywall anchors alone overhead. A projector with its mount is a falling hazard at 10-25 lbs, and ceiling installs add vibration from HVAC. We lag into joists or add a backer board across two, then route power and HDMI through the attic or a paintable raceway.
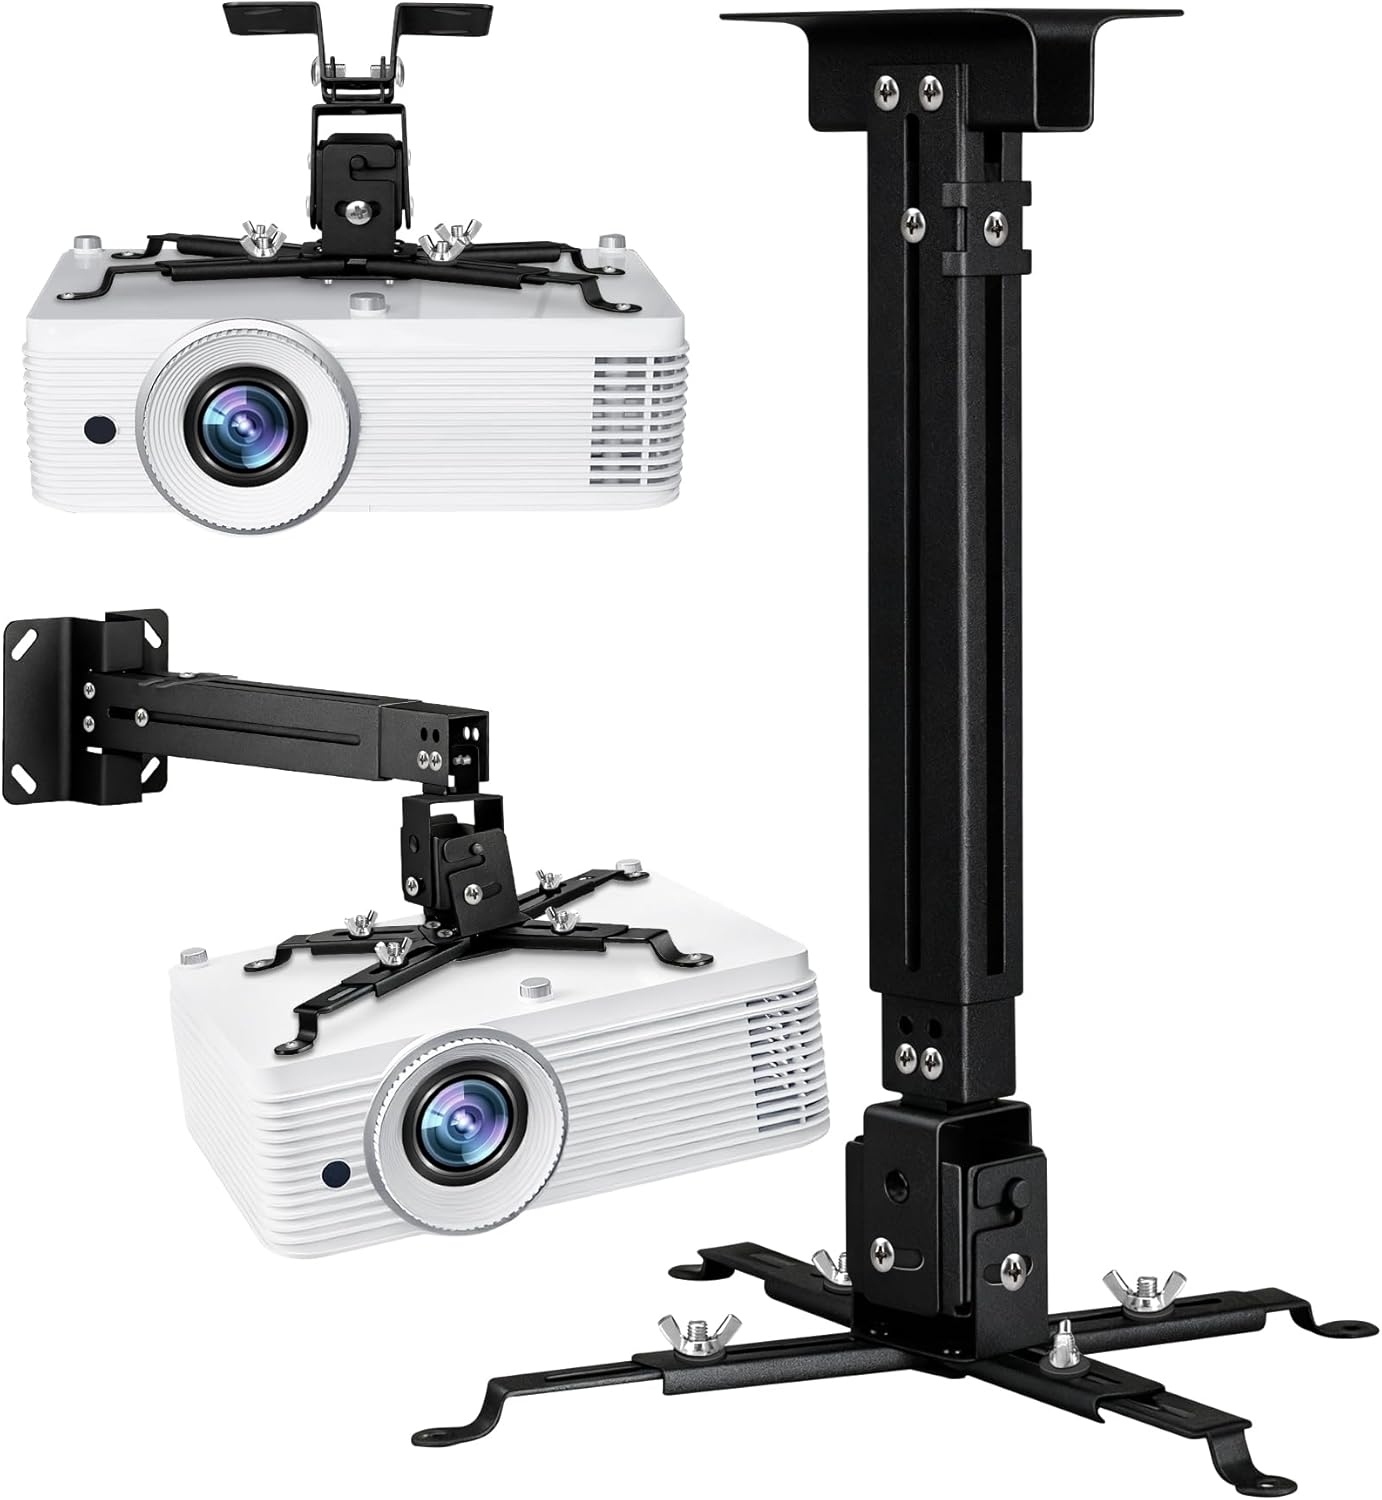
A ceiling projector lives or dies by its mount: throw distance sets where it hangs, and the mount has to hold angle within a degree for years. The hardware below follows the same commercial standards bodies like AVIXA teach for AV rigging - universal-pattern mounts, locking adjustments, structure-anchored.
Quick note: This page contains Amazon affiliate links. We may earn a small commission at no extra cost to you if you buy through them. Recommendations come from products I’ve personally hung on real customer walls over 10 years and 7,874 installs - not spec-sheet guessing.
After 7,874 documented TV installs across Metro Atlanta since 2015, here are the products my crew actually keeps stocked - and the ones we won’t touch. Alex Crabinsky, founder of Express Mounting, personally tests every product on this list across Atlanta wall types.
Express Mounting installs projectors too. Ceiling joist location, throw distance calculation, in-ceiling HDMI runs, and screen alignment - we handle the full home theater install across Metro Atlanta. Call (470) 777-4077 for a quote on your projector and screen setup.
Need professional installation in Metro Atlanta? Call (470) 777-4077 for same-day TV mounting service across 135+ cities across Atlanta, Miami & Los Angeles. Flat-rate pricing: $149-$319 basic, $119/TV cable concealment, +$119 masonry surcharge.
Atlanta installer note
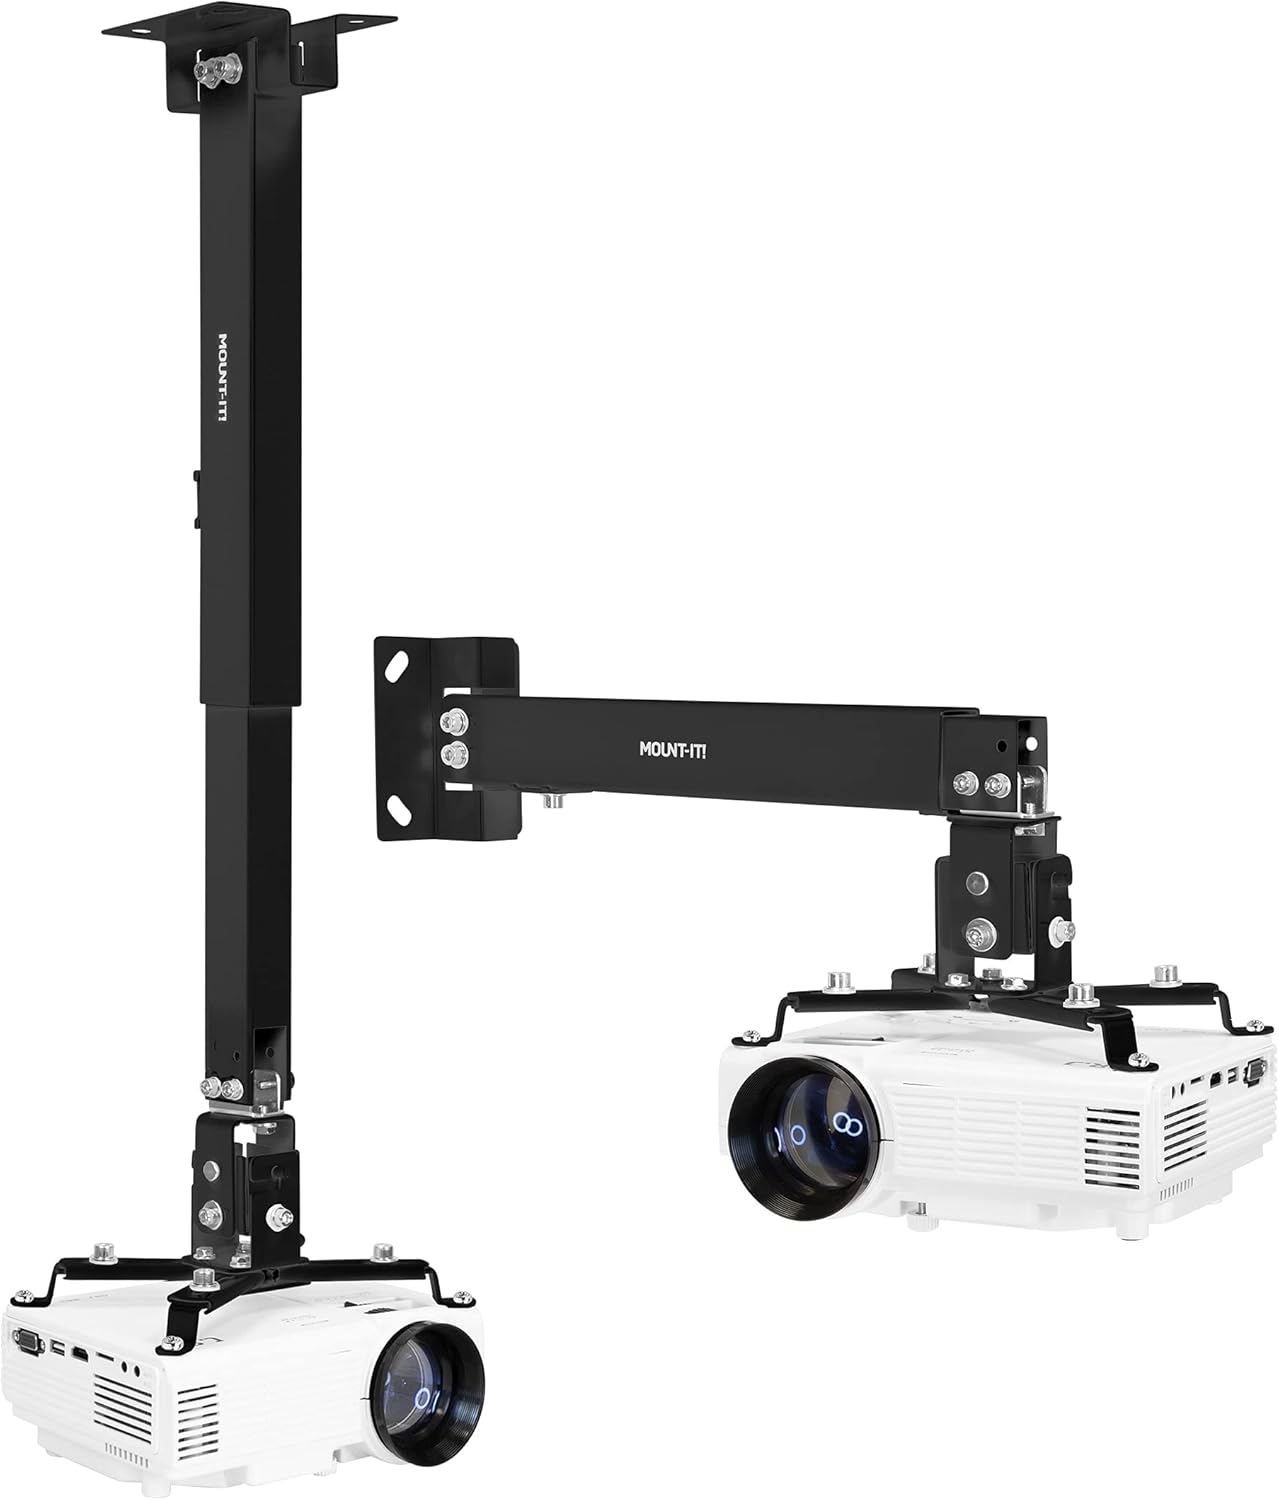
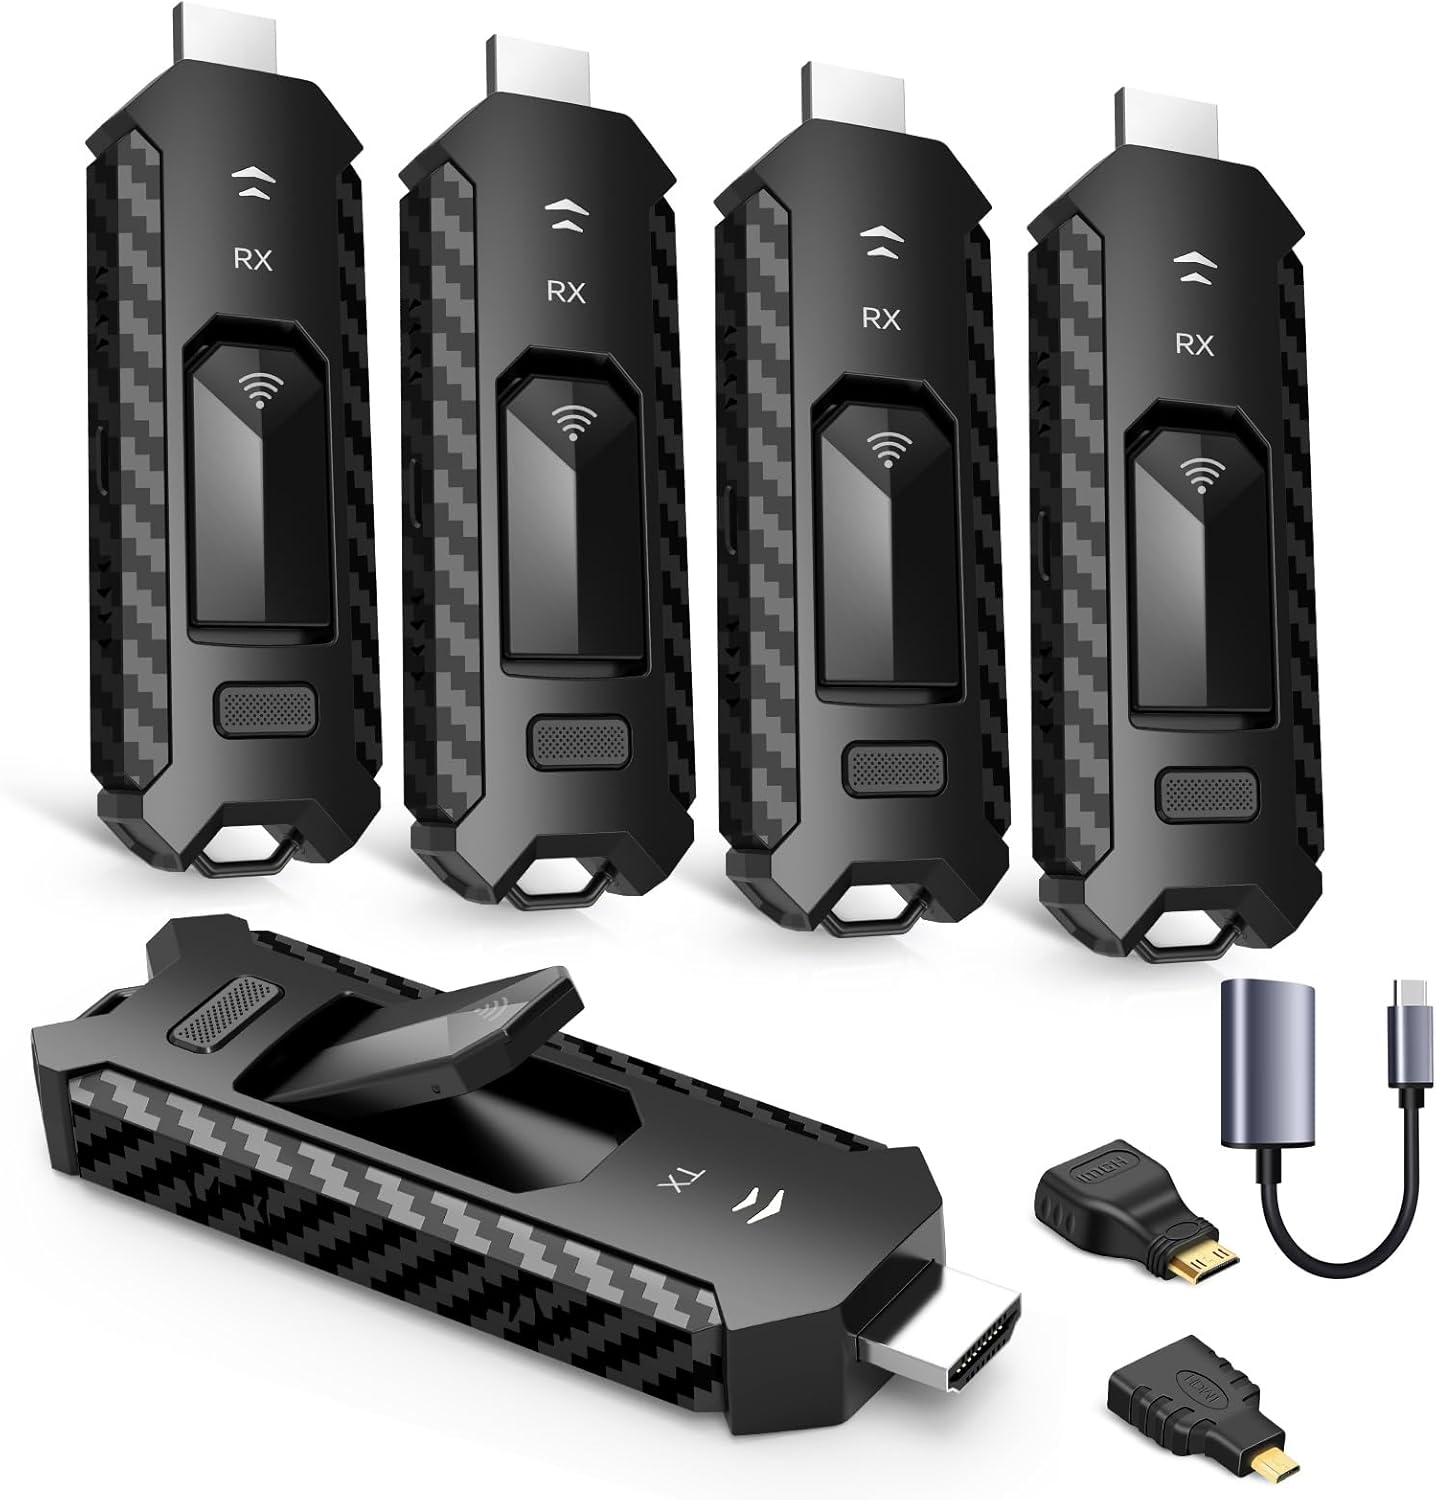
I have done 7,874 documented installs across Metro Atlanta since 2015, and dedicated home theater projector installs have been a steady chunk of that work - especially in the basement-rich neighborhoods of Buckhead, Milton, Roswell, and Sandy Springs where customers have the room and the ceiling height to do projection right. My truck always carries Chief RPA Series universal projector mounts, Peerless PRGS-455 ceiling mounts for short-drop installs, Klein Tools fish tape and glow rods for in-ceiling cable routing, Monoprice SlimRun AV Pro fiber optic HDMI in 50 and 75-foot lengths, and PowerBridge ONE-CK in-ceiling power kits for the customers who refuse to see a cable on the ceiling.
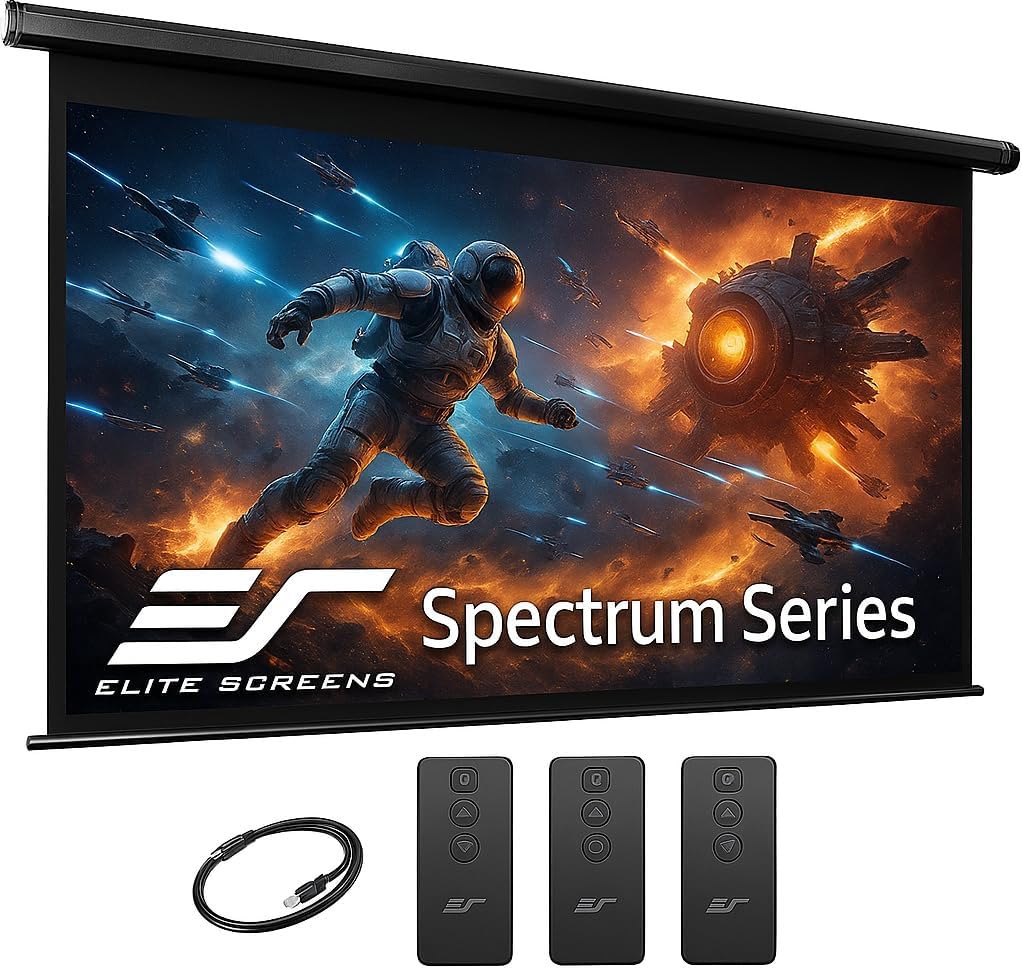
A Sandy Springs basement home theater install last quarter is a good example. Customer had a finished basement with 9-foot ceilings, an Epson 5050UB ceiling-mounted at a calculated 13-foot throw to a 120-inch Silver Ticket fixed-frame screen, and an equipment rack at the back of the room. We located the ceiling joists with a Bosch GMS 120 stud finder, mounted the Chief RPA-189 universal mount with a 6-inch drop, ran fiber optic HDMI from the rear-rack receiver to the projector through 14 feet of joist bay using Klein Tools fish tape, dropped a PowerBridge ONE-CK in-ceiling power kit so the projector pigtails into a recessed outlet, then aligned the projector using the test grid pattern in the projector’s menu. Total install was 5 hours plus another 2 hours for screen frame assembly and tensioning. Customer was watching a 4K HDR Top Gun Maverick demo within 20 minutes of us packing up.
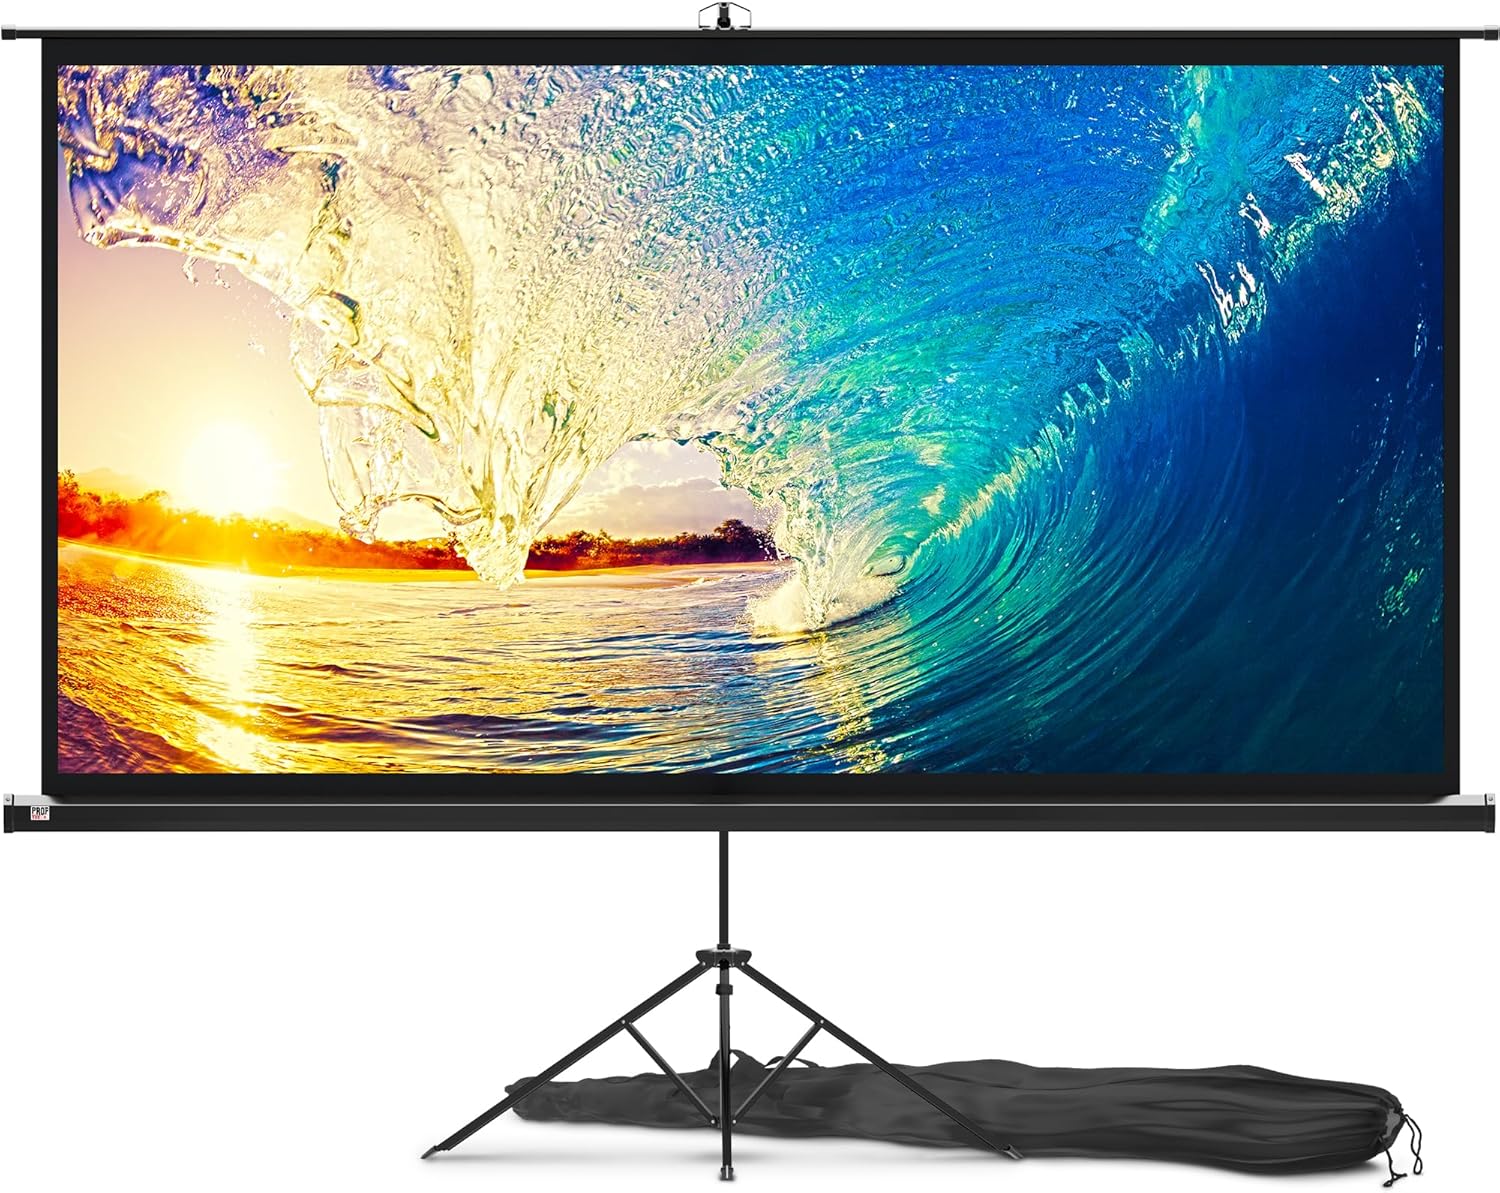
Buckhead and Milton basements tend toward dedicated theater builds with fixed-frame screens and ceiling-mounted long-throw projectors; Inman Park and Midtown condo customers tend toward ultra-short-throw setups like the Hisense L9G or Epson LS800 that sit on a credenza below the screen. Either way, I will calculate throw distance for your room, locate ceiling joists for secure mount, route HDMI in-ceiling, and align the image before I leave. Read more about my install workflow at Alex Crabinsky’s author page or call (470) 777-4077 for same-day Metro Atlanta projector install service.
Express Mounting installation pricing in Metro Atlanta:
- Basic TV mount: $149 (up to 54”), $199 (55-69”), $259 (70-79”), $319 (80”+)
- Cable concealment: $119 per TV
- Brick / stone surcharge: +$119
- Full-motion mount: +$89
Call (470) 777-4077 for same-day Atlanta service or book online.
Projector hardware we hang
Ceiling mounts and screens from our theater installs.
As an Amazon Associate, we earn from qualifying purchases. Prices and availability are subject to change.
Peerless Industries, Inc - Peerless-Av Prgs-Unv Ceiling Mount For Projector - 50 Lb Load Capacity - Black "Product Category: Kits/Mounting Kits"
Elite Screens 120-Inch ALR Projector Screen 16:9 – Ceiling & Ambient Light Rejecting, Fixed Frame Wall Mounted, ISF-Certified CineGrey 3D for Home Theater, Standard Throw Projectors, ER120DHD3
Build Your Home Theater Setup
Ready for the ultimate home theater? Browse our recommended projector mounts, screens, and installation accessories. All products selected for professional-quality home cinema installations.


