Mounting a TV is an 8-step process: identify the wall type, find studs (or qualifying anchors), confirm the TV’s VESA pattern matches the mount, pre-drill, anchor, level the bracket, hang the TV, and pull-test. Across 9,747+ installs since 2015, the DIY failure we see most is using the wrong anchor for the wall type: a $40 mistake that becomes a $400 drywall repair when the TV pulls out. This guide is the same checklist our crews use on every job.
Quick note: This page contains Amazon affiliate links. We may earn a small commission at no extra cost to you if you buy through them. Our picks are the hardware our crews install on real customer walls, not spec-sheet guesses.
After 9,747+ installs since 2015, on drywall, brick, plaster-and-lath, fireplaces, concrete and metal-stud condos, I can tell you the difference between a clean install and a wall full of pilot holes is almost always preparation, not skill. Get the wall read right, match the right hardware to the wall, and the actual hanging takes about 20 minutes.
Below is the exact protocol we follow on every install, broken down by the six wall types we see most often, plus the eight tools you actually need.
The 8-step universal install protocol
This is the same process I run on every single job, regardless of TV size or wall type:
- Wall read. Find studs or confirm the qualifying anchor type. Stud finder + magnet pass.
- VESA verify. Confirm the TV’s mounting hole pattern matches the bracket. (Full VESA pattern guide here.)
- Mark. Masking tape over the drill points to mark positions and contain dust.
- Pre-drill. Pilot holes always. Correct bit size for the anchor.
- Anchor. Hardware specified to wall type + 2× the TV’s weight.
- Mount the bracket. Level to ±0.5° with a digital inclinometer.
- Hang the TV. Two-person lift on anything 55 inches and up.
- Pull test. I pull down with twice the TV’s weight before I leave. Always.
Skip any one of these eight and you’re rolling dice. The pull test is the step that catches a bad anchor before the TV ever goes on the wall.
Wall-type cheat sheet
The anchor is the whole game. Match it to your wall before you buy anything else:
| Wall type | Anchor / hardware | Hammer drill? | DIY difficulty |
|---|---|---|---|
| Drywall + wood studs | 3/8” x 3” lag bolts into 2-3 studs | No | Easy - the most common case |
| Brick or solid concrete | Tapcon screws (3/16”-1/4”) | Yes (SDS) | Moderate |
| Plaster-and-lath (pre-1955) | 4” lag bolts seated into the stud | No, but go slow | Hard |
| Metal studs (condos/high-rises) | Snap-toggle or zip-toggle through the steel | No | Moderate: about 100 lb on four toggles, 150 lb on six |
| Above a fireplace | Tilt or pull-down mount + heat check | Depends on surface | Hard - pro for stone/gas |
| Rental (no drilling allowed) | No-drill mount or floor stand | No | Easy |
The DIY failure we see most is grabbing plastic “drywall anchors” for a 55-inch TV. They hold for a few weeks, then the cantilever load walks them out of the wall. Drywall alone holds only about a 32-inch, 30-lb TV on rated toggles; anything bigger needs a stud.
Tools you actually need
You can do most installs with these eight items. Don’t bother with the 23-piece “TV mounting kit” - half of it is filler.
- Stud finder - magnetic for plaster, electronic for drywall. Franklin Sensor ProSensor 710 on Amazon (the 13-sensor one - what I carry on every truck)
- Drill - cordless 18V or higher. Cordless drills on Amazon
- Drill bits - twist for wood, masonry for brick/concrete, SDS bits for the latter
- Level - digital reads to ±0.1°. Digital levels on Amazon
- Socket wrench - for the lag bolts on drywall installs
- Tape measure - any 25-foot will do
- Masking tape - for marking drill points and catching dust
- Anchors specific to your wall (covered per section below)
The fuller professional kit lives in our tools to wall mount a TV guide, the same basics our crews carry.
Can you mount a TV by yourself?
Up to about 50 inches, yes - one person can mount a TV solo with a ledger-board trick: temporarily screw a scrap 1x3 into the studs along the bracket’s bottom line, rest the bracket on it while you drive the lag bolts, then pull it off. It turns a two-hand juggling act into a one-hand drill job.
At 55 inches and up, get a second person for the lift. A 65-inch TV runs 50-70 lbs and is awkward more than heavy - the panel flexes if you grip it wrong, and the wall-plate hooks have to seat on both sides of the bracket at the same time. A lot of the cracked screens we hear about happened during a solo lift that went sideways. You can still do the bracket install alone; it’s only the final hang that needs the extra hands.
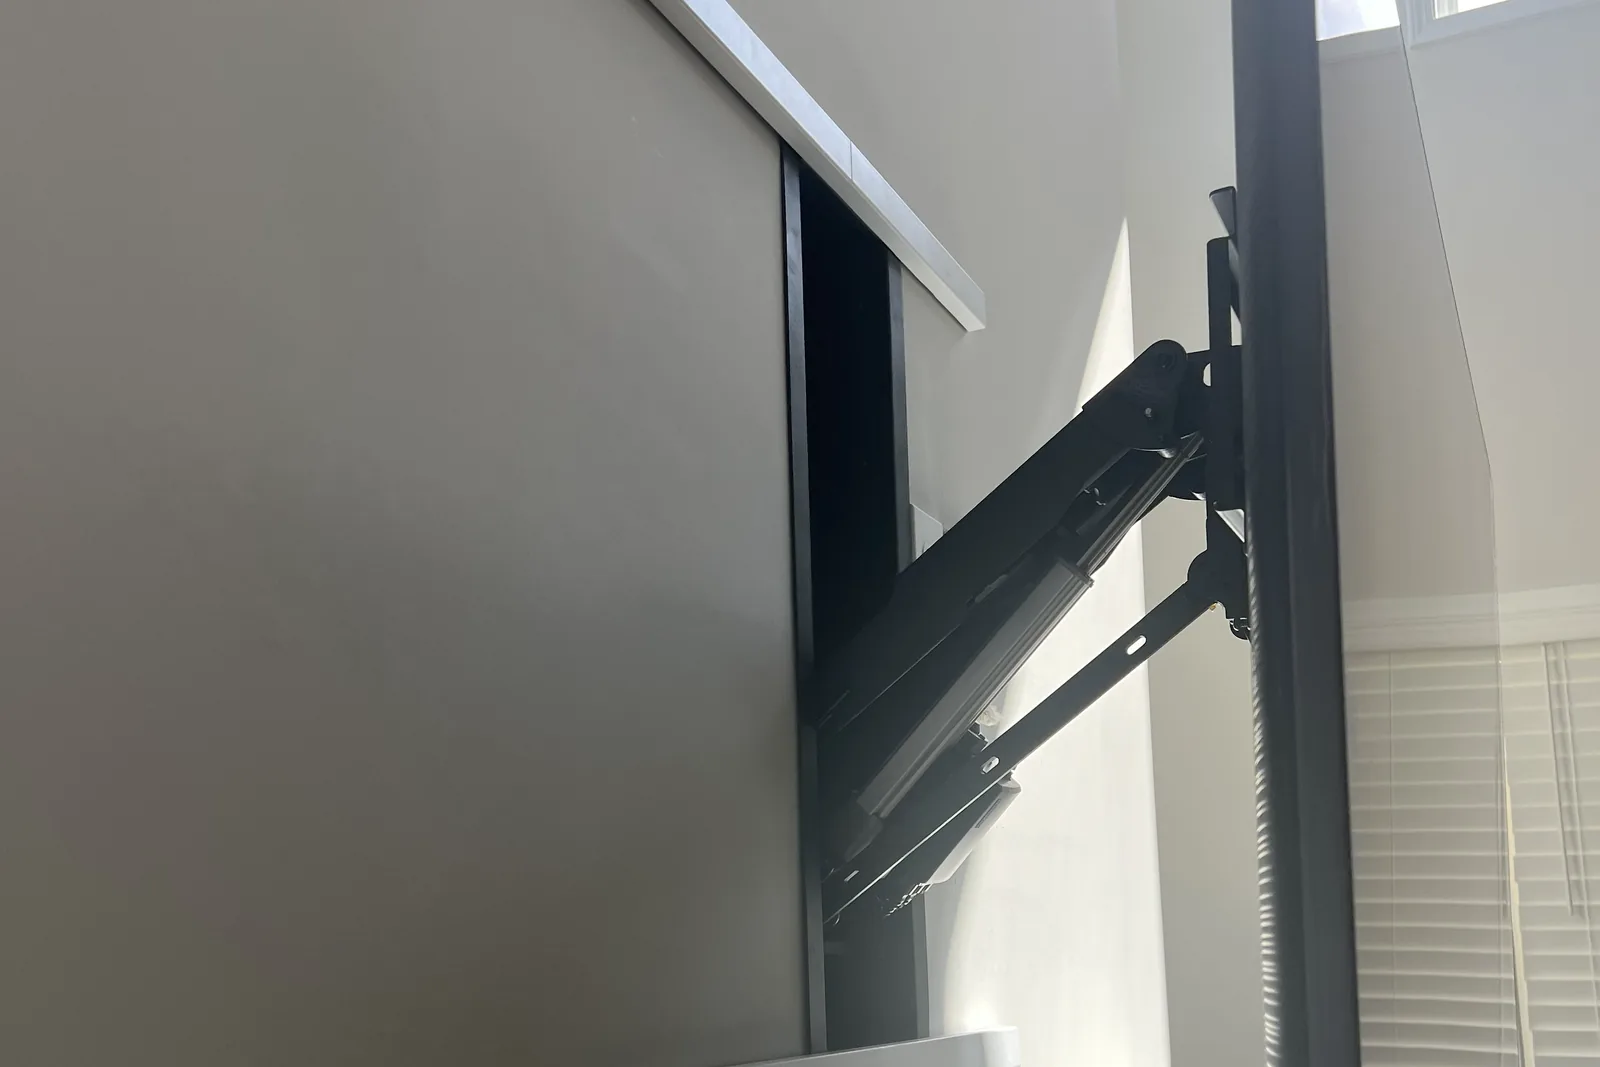
If you’re working alone with a large TV, a full-motion mount is actually more forgiving than a fixed one - you can hook a single side, swing the arm, and seat the other side without holding the full weight square to the wall the whole time.
Mounting on drywall
Plain drywall on wood studs is the wall we see most often. It’s the most straightforward install, if you find the studs.
The non-negotiable rule: Drywall alone holds only about a 32-inch, 30-lb TV on rated toggles; anything bigger needs a stud. Use four or more toggles on that small TV, and put a full-motion arm on studs every time. When no-stud is actually safe.
Hardware:
- 3/8” × 3” Grade 5 lag bolts into wood studs
- Two studs minimum, three for full-motion mounts on TVs over 65 inches
- Predrill with a 1/4” twist bit to prevent stud splitting
Process:
- Stud finder pass at the planned mount height. Mark stud edges, then mark center between marks.
- Hold the bracket up. Verify it spans 2-3 studs.
- Mark drill points through the bracket holes.
- Drill 1/4” pilot holes 2.5 inches deep.
- Hand-thread lag bolts halfway, hang bracket, finish with socket wrench.
- Pull test 2× TV weight. If it moves, your anchor is wrong - stop and reassess.
Common mistakes I see: Using “drywall anchors” for TVs bigger than about 32 inches and 30 lb, missing the stud center by half an inch, over-torquing the lag bolt and stripping the wood. None of these failures are immediately visible - the TV stays up for weeks before it falls.
Scan for pipes, not just studs: a 1/4” pilot hole into a copper water line behind the drywall floods a room fast, and the repair costs more than the mount. Always scan for pipes and wires with a multi-mode detector, not just a stud finder, especially on walls that share plumbing with kitchens or bathrooms.
Mounting on brick or concrete
Brick or solid concrete walls are actually safer than drywall once you have the right anchors - there’s no question of “did I find the stud.”
Hardware:
- Tapcon concrete screws (3/16” × 2-3/4” or 1/4” × 3-1/4”)
- SDS hammer drill (regular cordless will smoke trying to drill brick)
- Carbide-tipped masonry bit matched to the Tapcon size
For a deeper dive on identifying which brick is solid versus veneer (huge difference for anchor selection), see our brick vs. stone veneer safety guide.
Process:
- Mark drill points on masking tape (catches the dust).
- Drill the brick face or the mortar joint, whichever lines up with the mount’s holes.
- Hammer drill at full speed, slow steady pressure.
- Vacuum the dust out of the hole before driving the Tapcon.
- Drive Tapcon with cordless drill on torque setting 5-7. Stop when the head seats - over-tightening strips the threads.
Tip: If you’re mounting on a brick fireplace specifically, the heat changes the math. Read the fireplace section for the temperature checks I do on every fireplace install.
Mounting in a rental apartment
Renters get the worst advice on this. The honest answer: you can usually mount a TV in a rental by going into the studs, as long as the lease allows small screw holes and you patch at move-out. (For the full renter walkthrough, see how to mount a TV in an apartment without damaging walls.)
If your lease prohibits drilling, you have three real options:
- No-drill wall mount - tension-pole or furniture-anchor systems. Full breakdown in our no-drill guide.
- Floor-standing TV stand with the TV at mount-equivalent height.
- Negotiate with your landlord - many will allow it in writing, sometimes against an extra deposit.
If you ARE allowed to drill, the install is identical to drywall above - just commit to using lag bolts into studs (clean to patch later) instead of drywall anchors (creates 2-inch holes that need real drywall repair).
For cable concealment that doesn’t require cutting drywall - critical for renters - see our renter-friendly cable concealment guide.
Mounting on plaster-and-lath walls
Pre-1955 Atlanta homes - Inman Park, Virginia-Highland, Morningside, Druid Hills, historic Roswell - usually have plaster-on-lath walls. These are different from drywall in three important ways:
- The plaster is brittle and cracks if you drill too aggressively.
- The lath strips behind the plaster are too thin to anchor a TV by themselves.
- Electronic stud finders fail on plaster - the wire mesh in some plaster confuses the sensors.
Hardware:
- 4-inch Grade 5 lag bolts (must clear the plaster + lath layer to seat into stud)
- 1/8” pilot bit for stud-finding by feel when electronic finders fail
I wrote a full guide on finding studs behind plaster-and-lath walls - six methods, ranked by reliability. If you’re working on a pre-1955 home, read that first.
The rule: drill slowly. The plaster cracks when the bit catches. Run at half speed and let the bit do the work.
Mounting above a fireplace
This is one of the most requested installs, and one of the easiest to get wrong.
Three things to check before drilling:
- Heat. Run the fireplace at full burn for 20 minutes, then read the wall surface temperature with an IR thermometer. Above 100°F sustained, we treat the spot as too hot; check the operating range in your TV’s manual.
- Mantel clearance. Most TV manufacturers spec 6-12 inches above the mantel.
- Viewing angle. A wall-mounted TV centered above a fireplace mantel is usually 8-14 inches too high for comfortable viewing. This is what tilting and pull-down mounts solve.
For tall fireplaces, a MantelMount pull-down system lets the TV sit at standard mounting height when the fireplace is in use, then pull down to seated eye level the rest of the time. Our install is the size-tier rate for your TV plus $99, with the pull-down mount supplied by you.
The full safety + heat + neck-strain checklist is in our complete fireplace TV mounting guide.
Ceiling mounting
Niche application, but useful in commercial spaces, garages, gyms, and unusual room layouts (corner viewing, kitchens, basements with no eye-level wall).
Hardware:
- Ceiling joist mount (different from wall stud mount - longer drop arm)
- 4-inch lag bolts into ceiling joists (never into ceiling drywall alone)
- Cable management running along joist line
If your ceiling has no exposed joists (finished sheetrock), find the joist line with a stud finder before assuming you can mount anywhere. Ceiling joists run perpendicular to the floor joists below - usually visible from the attic if you can get up there.
For the niche use cases, see our corner and ceiling TV mount solutions guide.
Final pull test - the step nobody talks about
Every TV we install gets a pull test before we leave the job site: grip the bracket and pull straight down with two times the TV’s weight. If anything moves, shifts, or creaks, the install isn’t finished.
This is what separates a professional install from a DIY install: the willingness to undo your own work if the test fails. If the bracket moves, the fix is fresh holes into a different stud and starting over. The TV never goes on a marginal install.
Express Mounting service pricing for our flagship mount install
If you’d rather skip the DIY entirely: Express Mounting flat-rates TV installs in all 15 metros we serve - basic mount $129 (up to 54”), $159 (55-69”), $209 (70-79”), $299 (80-94”), $399 (95”+). The bracket is yours, or add ours (flat $49 or $69, full-motion $59 or $79). Cable concealment $99 per TV. Masonry surcharge +$99 for brick or stone walls. Every install includes the 8-step protocol, two-person lift on 55”+, the pull test before we leave, and a 3-year workmanship warranty. Call (470) 777-4077.
Frequently asked questions
Can I mount a TV on drywall without studs?
Only small ones. Drywall alone holds only about a 32-inch, 30-lb TV on rated toggles; anything bigger needs a stud, and a full-motion arm always does. For that small TV, use four or more toggles. Full breakdown of when no-stud is actually safe.
What’s the right height to mount a TV?
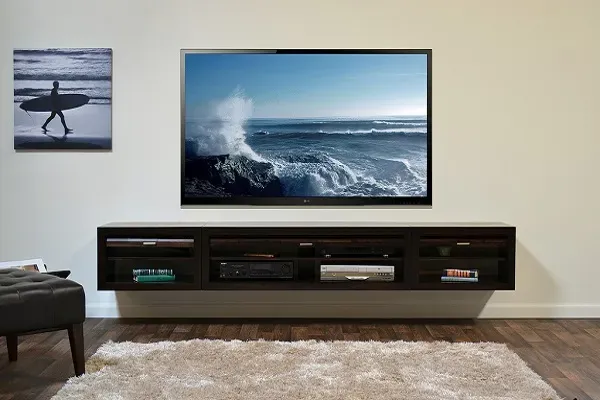
For a standard sofa, the TV center should be 42-48 inches from the floor. In a bedroom, center the screen 42-50 inches from the floor. Complete TV height calculator and room-by-room guide.
Do I need a special mount for a Samsung Frame TV?
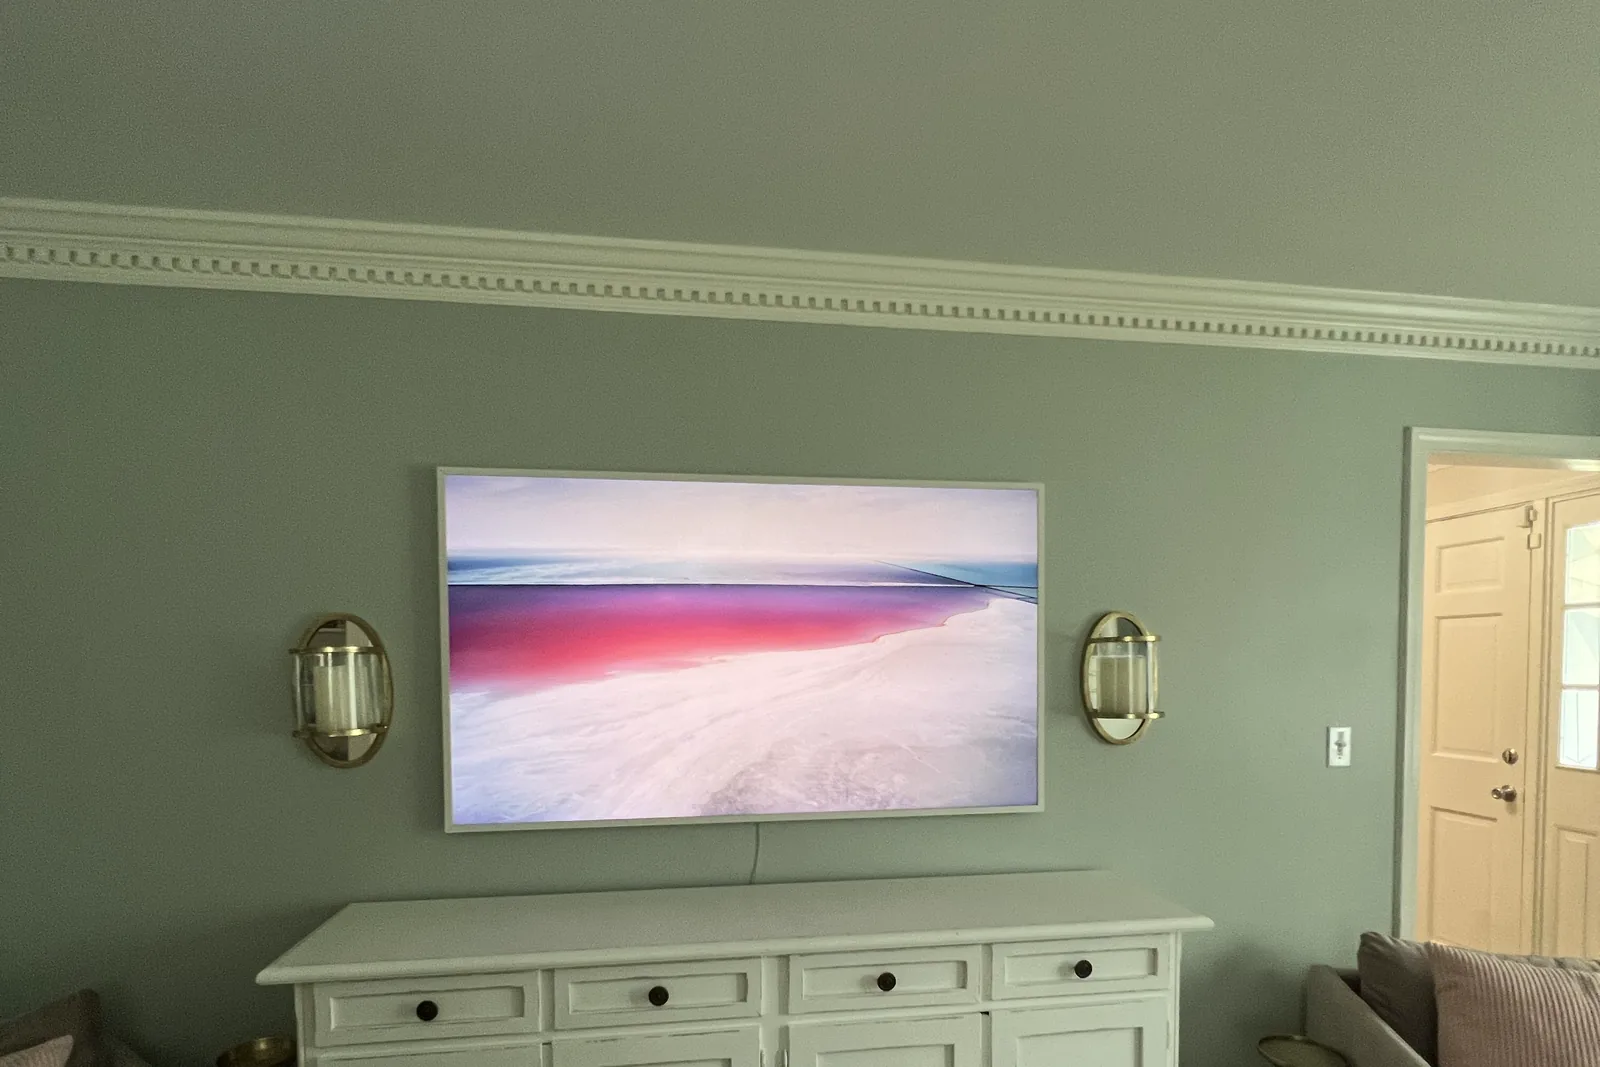
Use the one that ships with it: current Frame TVs come with Samsung’s slim no-gap wall mount in the box. A standard mount leaves a 1.5-2 inch gap that defeats the Frame’s whole design. Samsung Frame install specifics here.
How long does a TV mount install take?
DIY first-timer: 2-4 hours including tool gathering. Professional: 45-90 minutes for standard installs, 1.5-2 hours for fireplace or in-wall cable concealment.
What if my wall has metal studs (condos and high-rises)?
Metal studs need toggle bolts (snap-toggle or zip-toggle), not lag bolts. The threading will not hold in steel framing. Full metal-stud install guide.
How do I hide the cables after mounting?
Three options: in-wall power kit (cleanest, requires drywall cuts), surface raceway (renter-safe, no drilling), or behind-furniture routing (TV stand below). Complete cable concealment guide.
How long does a standard TV install take?
A professional crew completes a standard drywall-and-stud install in 45-90 minutes including the pull test and basic cable management. Add 30-45 minutes for in-wall cable concealment, 30-60 minutes for fireplace installs (heat checks plus mantel measurements), and 30 minutes for masonry installs (SDS drilling is slower than wood). DIY first-timers should budget 2-4 hours including tool gathering and at least one mistake.
Do I need to remove the TV from the box first?
Not until step 7 of the 8-step protocol. Keep the TV in its packaging while you do the wall read, mark drill points, pre-drill, anchor, and level the bracket - this protects the screen from accidental impact during the dusty/messy phase of the install. Only unbox the TV once the bracket is fully secured and you’re ready for the two-person lift onto the wall plate. Save the box; if anything goes wrong with the install, you want the original packaging for warranty returns.
What if I drill into a pipe or wire?
Stop immediately and assess. For a water pipe: shut off your home’s main water supply (usually at the front exterior or basement), then call a plumber - SharkBite couplings can patch most copper or PEX strikes for $30-50 in parts. For an electrical wire: shut off the breaker for that circuit, do not touch the wire, and call a licensed electrician. Prevention is the real answer: use a multi-mode detector (like the Bosch GMS 120) that flags both metal pipes and live AC wires before you ever drill, especially on walls that back kitchens, bathrooms, or laundry rooms.
Can I mount a TV on the wall by myself?
Up to about 50 inches, yes. Use a ledger board - a scrap 1x3 screwed into the studs along the bracket’s bottom edge - to hold the bracket level while you drive the lag bolts solo. At 55 inches and larger, get a second person for the final lift onto the wall plate; the panel is awkward and flexes, and most solo lifts that go wrong end in a cracked screen. You can still do the bracket install alone - it’s only the hang that needs help.
When to call a professional
Look - I write these guides because I genuinely believe most TVs are within DIY range. But three situations consistently end with a call to my crew after the homeowner started:
- Fireplace installs gone sideways - cracked stone, drilled into a gas line, cables pulled into the firebox.
- 75-inch+ TVs that pulled out of the wall - usually because lag bolts went into drywall, not stud.
- Plaster-and-lath cracking - the plaster spider-cracks across the whole wall when you drill the wrong way.
If your job has any of these risk factors, the math on a $129 professional install (vs. a $1,500 TV + $400 wall repair) usually favors the pro.
Express Mounting handles installs in all 15 metros we serve, 8 AM to 8 PM seven days a week, with same-day service when booked before noon. Get a quote at expressmounting.com or call (470) 777-4077.
About the author: I’m Alex Crabinsky. I founded Express Mounting in 2015, and our crews have completed 9,747+ installs since. Full bio here.